Difference between revisions of "AIO Product Page"
From Custom Scriptz
(→Rename Files) |
(→Rename Files) |
||
| Line 81: | Line 81: | ||
* Go to "/admin/includes" and rename the file ".htaccess" to "default.htaccess", then rename the file "aio.htaccess" to ".htaccess" | * Go to "/admin/includes" and rename the file ".htaccess" to "default.htaccess", then rename the file "aio.htaccess" to ".htaccess" | ||
| + | Entering the License | ||
* Go to Admin -> Catalog -> Categories / Products -> Try to insert a new product, you will then be redirected to the License Manager to enter your license. | * Go to Admin -> Catalog -> Categories / Products -> Try to insert a new product, you will then be redirected to the License Manager to enter your license. | ||
| + | * You will then be redirected to the License Manager to enter your license. | ||
| + | * After you enter the license, the module will redirect you to it's main page and show you that the installation was succeed. | ||
== Settings == | == Settings == | ||
Revision as of 14:19, 14 October 2011
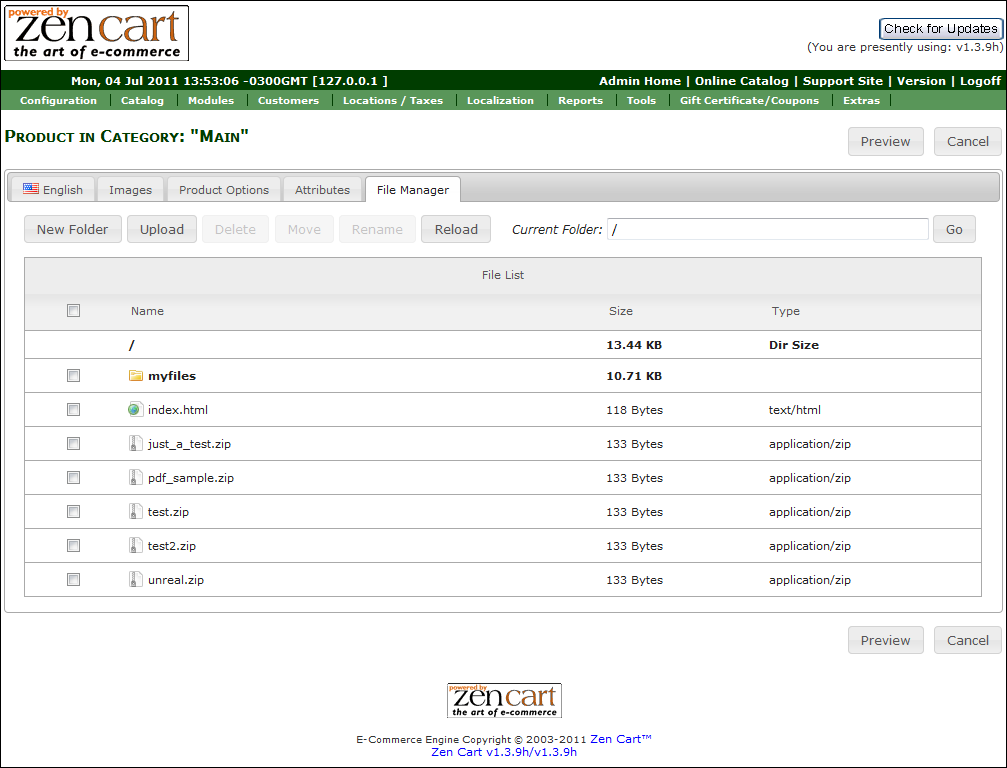
AIO Product Page (all-in-one product page) is a module developed by Custom Scriptz for Zen Cart that gives you everything you need to edit and manage your product details, images, attributes and files.
Contents
This module is free?
- No, this module is available at our scripts store.
This module is supported by Zen Cart Team?
- No, we support this module.
This module will overwrite any of my files?
- No, this module does not overwrite any core file from Zen Cart, but take place of two .htaccess file from default Zen Cart installation.
System Requirements
Zen Cart v1.3.8a or newer
ionCube Loaders
PHP 5 or newer
MySQL 5
Features
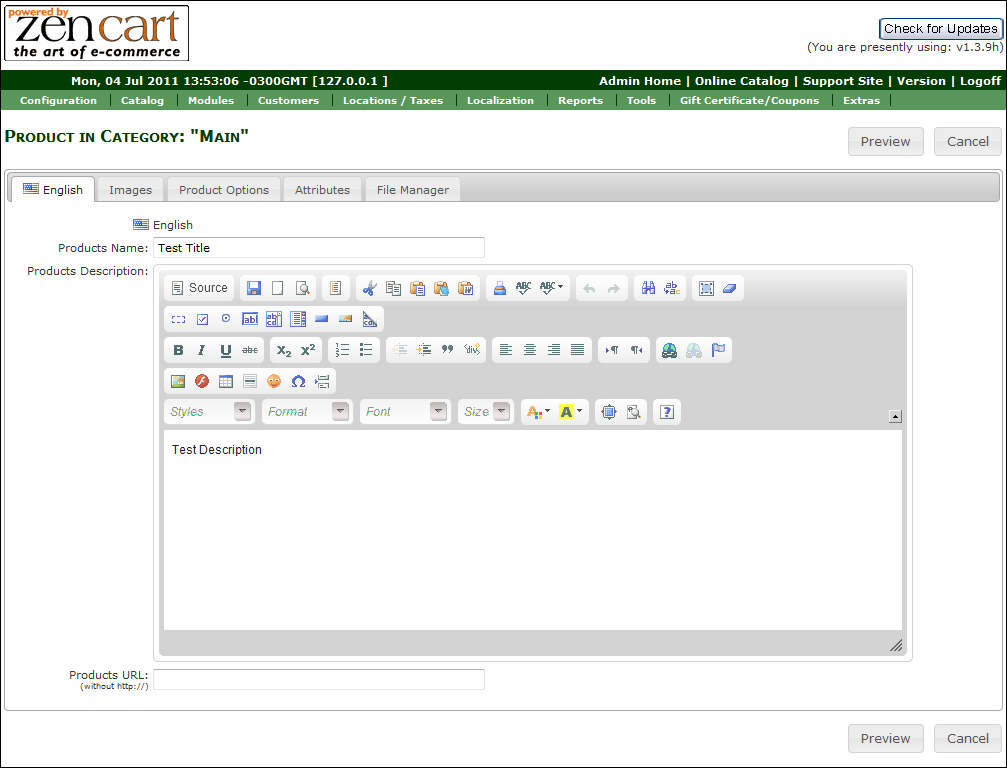
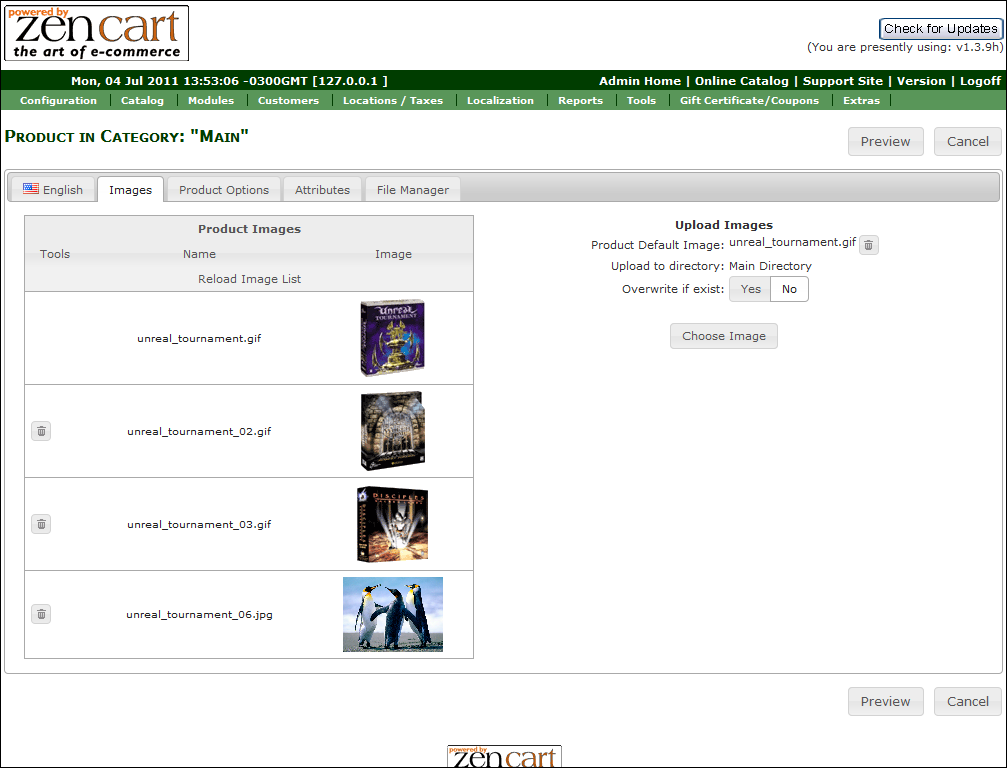
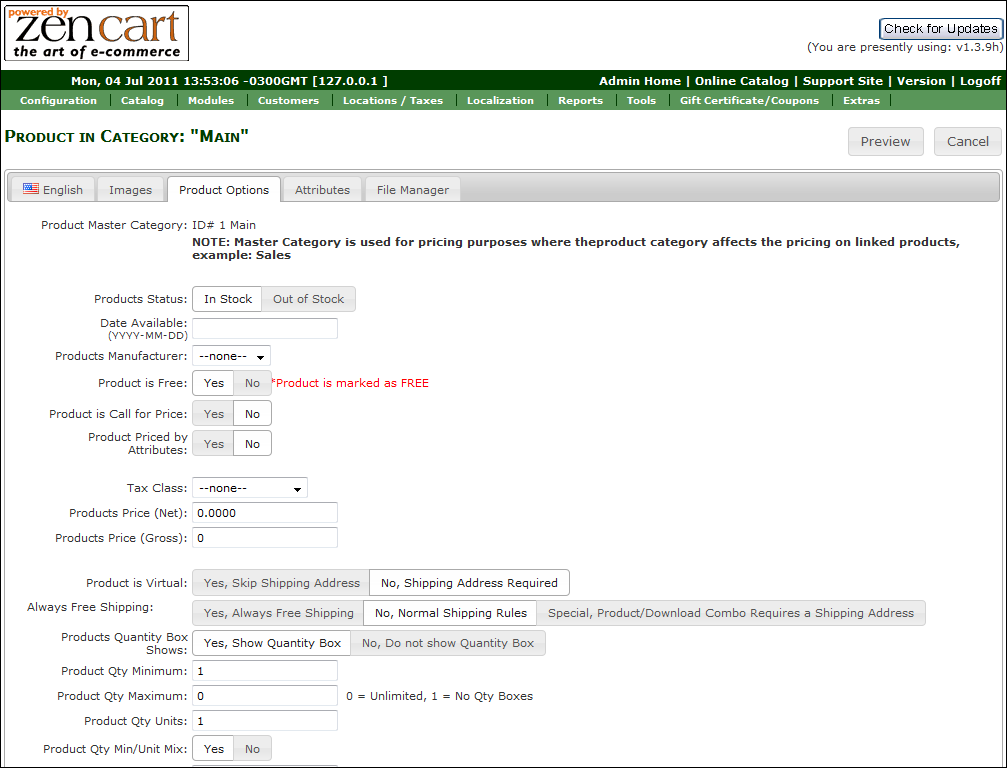
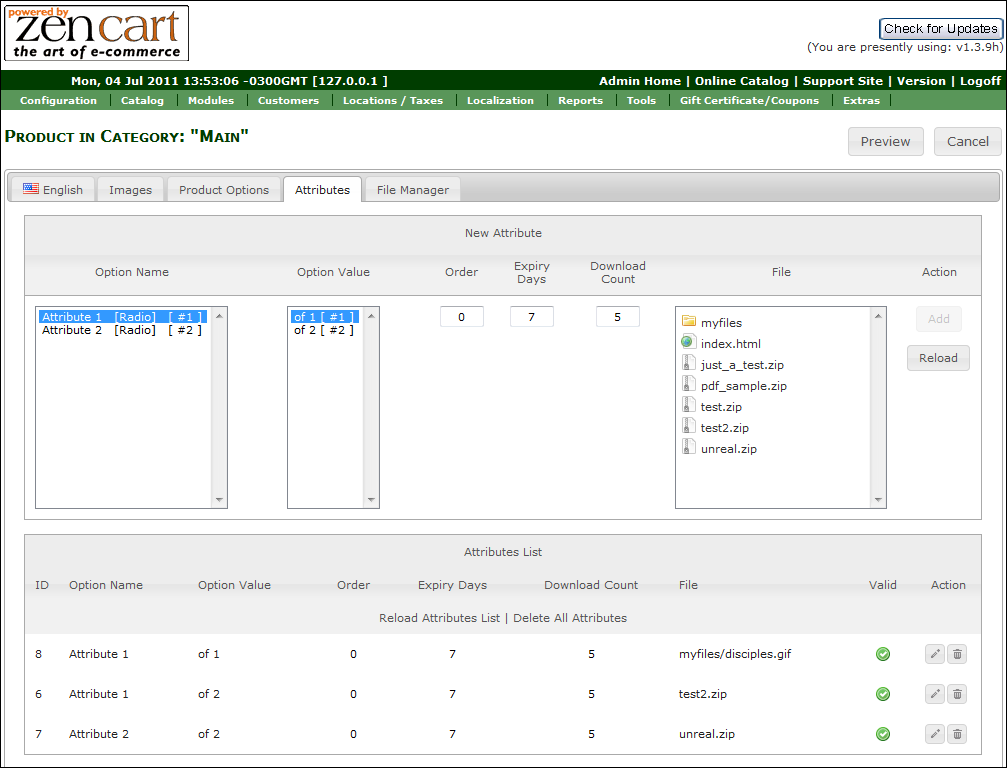
With AIO Product Page you can manage all the following from a single page:
- All the Product Details
- Images
- Attributes
- Files
Screenshots
Screenshot #01
Screenshot #02
Screenshot #03
Screenshot #04
Screenshot #05
Before Installing / Upgrading
Thought our modules are exhausted tested, we do not guarantee that everything goes smoothly, so please, BACKUP YOUR DATABASE AND FILES before proceed.
Installation Instructions
- Unzip the file that you downloaded from our Customers Area to a temp dir on your computer.
- Inside that dir, you will notice one dir called "uploads" and one dir called "extras".
- If your "admin" directory has a different name, rename the dir "admin" that's inside the "uploads" dir to match yours.
- Go to Rename Files
Upgrading Instructions
- Unzip the file that you downloaded from our Customers Area to a temp dir on your computer.
- Inside that dir, you will notice one dir called "uploads" and one dir called "extras".
- If your "admin" directory has a different name, rename the dir "admin" that's inside the "uploads" dir to match yours.
- Upload all contents of the dir "uploads" to the root of your shop (don't upload the dir "uploads", but what is inside of it). There are no overwrites.
- Do not upload upload the "extras" dir.
Rename Files
On the store files
- Go to "/admin" and rename the file "product.php" to "_product.php" (in case the product type you are replacing is product)
- Go to "/admin/includes/languages/YOUR_LANGUAGE" and rename the file "product.php" to "_product.php"
- Go to "/admin/includes/modules" and rename the dir "product" to "_product"
Inside the upload package
- Go to "/admin" and rename the file "aio_product.php" to "product.php" (in case the product type you are replacing is product)
- Go to "/admin/includes/languages/YOUR_LANGUAGE" and rename the file "aio_product.php" to "product.php"
- Go to "/admin/includes/modules" and rename the file "aio_product.php" to "product.php"
- Upload all contents of the dir "uploads" to the root of your shop (don't upload the dir "uploads", but what is inside of it). There are no overwrites.
- After uploading all files, upload the "extras". Remember to rename the "admin" dir as well that's inside the "extras" dir.
Back to the store files
- Go to "/admin" and rename the file ".htaccess" to "default.htaccess", then rename the file "aio.htaccess" to ".htaccess"
- Go to "/admin/includes" and rename the file ".htaccess" to "default.htaccess", then rename the file "aio.htaccess" to ".htaccess"
Entering the License
- Go to Admin -> Catalog -> Categories / Products -> Try to insert a new product, you will then be redirected to the License Manager to enter your license.
- You will then be redirected to the License Manager to enter your license.
- After you enter the license, the module will redirect you to it's main page and show you that the installation was succeed.
Settings
- There are no settings for this module.
Tutorial
- Go to Store Admin -> Catalog -> Categories/Products
- Edit or Insert a New Product
- You should be able to see the AIO page.
FAQ
Got Questions, Bugs or Requests? http://customscriptz.com/support
